Setting up your survey
First you’ll have to create a new survey in the Research Survey Centre, then choose its basic settings.
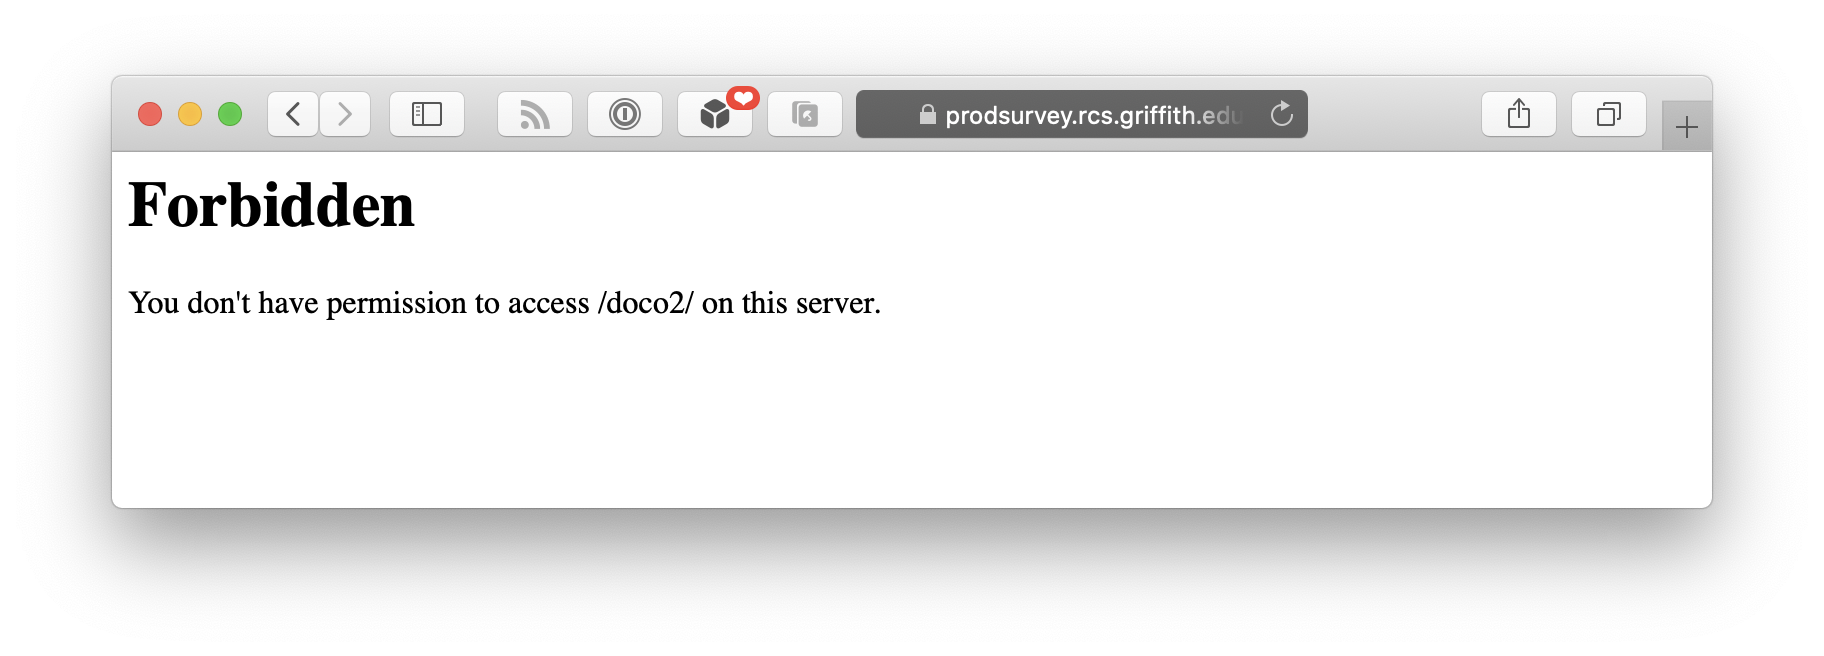
Note: You must use a VPN (Virtual Private Network) to access LimeSurvey if you are off-campus. If you attempt to access it without a VPN you will be presented with a ‘Permission Denied’ message.

Find instructions for setting up your Griffith VPN (login required).
Creating a survey

- Open a browser and go to the
Research Survey Centreweb page. NOTE: If you are working off-campus, you will need to connect via the VPN client. - Click on the
Register or Upgradelink in the navigation panel on the left. - Click on
Register a new Survey. - Log in with your Griffith “s” number and password, then click the
Log inbutton. - Click on the
Sandpit surveyradio button. - Fill in the details for the survey, noting that some fields are mandatory. For this exercise, enter the title Healthy Lifestyles.
- Click the
Submitbutton.
Accessing the survey
- You will have received a notification in your Griffith email which contains a link to open the survey. For now, you can go straight to the LimeSurvey home page.
Note: You can bookmark this page or add it to your Favorites for easy access later on.
Logging in to LimeSurvey
- Log in again with your Griffith “s” number and password, then click the
Log inbutton.
Note: Your Griffith Single Sign-On credentials have been automatically authenticated with LimeSurvey login.
- Click on the
List surveysbutton. Any surveys you have created will be listed. - Click on the survey you want to open.
- Read any warnings (shown in brown) and any information panels (shown in blue). The large buttons on the screen are highlighted blue (available) or grey (not available at this time).
Texts and general settings
- Click on the large
Edit text elements and general settingsbutton on the screen. - Click into the
Title:text box. - Add: (S) to the end of the Title to indicate that the survey is in Sandpit.
Note: This can be deleted when the survey is upgraded to Production.
Survey description
- Click into the
Description:text box. - Type: Do YOU have a healthy lifestyle?
Understanding the HTML toolbar

The HTML toolbar provides options for text formatting in any LimeSurvey text box that allows it. Most of the buttons will be familiar to you as they are very similar to the functions you see on the Microsoft Word ribbon.
The first button on the toolbar expands and collapses the text box and is useful if you have a lot of text or a lot of formatting.
- Explore and familiarise yourself with the buttons on the
HTML toolbar. - In the
Description:text box,Boldthe text YOU.
Add images
An image might be a corporate or brand logo, especially if you are conducting collaborative research. Alternatively, you may be using an image as a stimulus for your participants to respond to.
- Still in the
Description:text box, insert some ```s before the text, then position the insertion point at the top. - On the
HTML toolbar, click theInsert imagebutton. - In the
Image Propertiesdialog box, click on theBrowse Serverbutton. - Click the
Uploadbutton and browse to the Exercise Files folder. - Select HealthyLogo.PNG and click
Open. The file will be uploaded to theImagesfolder on the LimeSurvey server. - Double-click on the image to display the
Image Propertiesdialog box again. - Adjust the properties to suit and click
OK.
Survey Properties
- Click into the
Welcome message:text box.
Note: If you have previously planned your survey in a Microsoft Word document, you might want to copy and paste some text to save typing it again. Copying and pasting directly from a Microsoft Word document can cause problems as Word has its own underlying codes, so you should always use the Paste as Plain Text button on the HTML toolbar then reapply any formatting.
- Type (or copy and
Paste as Plain Text):
There’s often so much going on in an average day that it’s hard to stop and think, so it’s easy for a few bad habits to slip into everyone’s daily routine. We’ve put together this assessment to help you identify where you are doing well, and where there is room for improvement. On completion, you’ll receive a personalised report containing advice and guidance on keeping yourself healthy. Click Next to begin.
Note that the larger portion of text goes into the Welcome message and not into the Description as you might think. This is because the underlying template uses a large font for the Description field – too much text would fill a screen!
- Still in the
Welcome message:text box, insert some<Enter>s after the text and type Please read the Code for the Responsible Conduct of Research. - Select the text Code for the Responsible Conduct of Research, then on the
HTML toolbar, click theLinkbutton. - Click the
Browse Serverbutton. Any files already uploaded will be listed here and can be selected. - To upload a new file, click the
Uploadbutton and browse to the Exercise Files folder. - Select The Responsible Conduct of Research.pdf and click Open. The file will be uploaded to the Files folder on the LimeSurvey server.
- Once uploaded, double-click on the file to include it.
`
Link targets
In web technologies, Target refers to the window in which the linked item is displayed. The default is <_Self> which means the window that is currently open. This setting would require users to click the `
- Still in the
Linkdialog box, click theTargettab. - Click the
Target selection list arrow. - Click on New Window (_blank) to select it.
- Click the
OKbutton.
End message, End URL and URL description
At the end of the survey, you will want to thank your participants for taking the time to complete your survey. You may also want to direct them to another page for further information, or to enter a prize draw.
- Click into the
End message:text box. - Type: Thank you for taking the time to complete this survey.
- Click into the
End URL:text box (optional) - Type: www.griffith.edu.au
- Click into the
URL description:text box (used only whenEnd URLis used) - Type: Griffith University
You have now completed the Welcome, Description and End messages for your survey. Next, you will want to check the general settings of your survey, before you begin to add questions.
Survey settings panel
The Survey settings panel is on the right-hand side of the Edit survey text elements and settings screen.
- Clicking on any left-facing arrowhead will expand the
Survey settings. - Click on each heading to explore the options but don’t select anything at this time.
Save buttons
Near the top on the right-hand side of the screen you will see three buttons: Save, Save and close and Close.
• The Save button saves your changes and allows you to continue editing.
• The Save and close button saves your changes and closes the current screen.
• The Close button closes the current screen without saving.
- Click the
Save and close button.
Ready to move on? Head to the next page or ask a question.